-
Troubleshooting HTTP 500.19 Errors in IIS 7

I few month ago, I was configuring a management software for Dell servers on IIS. Once I finish the all configuration, I decide to run the web app and I got the following error message:
HTTP Error 500.19 – Internal Server Error
The requested page
cannot be accessed because the related configuration data for the page
is invalid. Module DynamicCompressionModule
Notification SendResponse
Handler StaticFile
Error Code 0x8007007e
Requested URL http://localhost:80/
Physical Path C:\inetpub\wwwroot
Logon Method Anonymous
Logon User AnonymousO no, now what? Well after doing some research, I was able to find a solution. The reason of the error message is the DynamicCompressionModule module is causing the trouble. This is because
of the XPress compression scheme module (suscomp.dll) which gets
installed with WSUS and this server is also a Distribution Point for SCCM so WSUS role is install for update catalog . Since Compression schemes are defined globally and
try to load in every application Pool, it will result in this error when
64bit version of suscomp.dll attempts to load in an application pool
which is running in 32bit mode.The solution: Remove / Disable the XPress compression scheme from the configuration using the command
C:\Windows\system32\inetsrv\appcmd.exe set config -section:system.webServer/httpCompression /-[name=’xpress’]OR Add an attribute of “precondition= “64bitness” for this module entry so that it loads only in 64bit application pools.
OR Use a 32bit version of suscomp.dll
Reference
Link -
SQL Translog Shrink Script

Here is a good Script I use to Shrink does SQL Databases Translogs:
——————————————————————————
— Update the line below with the name of the database who’s transaction
— log you want to shrink.
——————————————————————————
USE name of the database
——————————————————————————
— Don’t change anything below this line.
——————————————————————————
GO
— Declare variables
DECLARE @SqlStatement as nvarchar(max)
DECLARE @LogFileLogicalName as sysname
— Alter the database to simple recovery
SET @SqlStatement = ‘ALTER DATABASE ‘ + DB_NAME() + ‘ SET RECOVERY SIMPLE’
EXEC ( @SqlStatement )
— Make sure it has been altered
SELECT [name], [recovery_model_desc] FROM sys.databases WHERE [name] = DB_NAME()
— Set the log file name variable
SELECT @LogFileLogicalName = [Name] FROM sys.database_files WHERE type = 1
— Shrink the logfile
DBCC Shrinkfile(@LogFileLogicalName, 1)
— Alter the database back to FULL
SET @SqlStatement = ‘ALTER DATABASE ‘ + DB_NAME() + ‘ SET RECOVERY FULL’
EXEC ( @SqlStatement )
— Make sure it has been changed back to full
SET @SqlStatement = ‘SELECT [name], [recovery_model_desc] FROM ‘ + DB_NAME() + ‘.sys.databases WHERE [name] = ”’ + DB_NAME() + ””
EXEC ( @SqlStatement )
——————————————————————————Were is red, enter the name of the Database that you would like to shink the logs.
-
Creating a Shared Mailbox
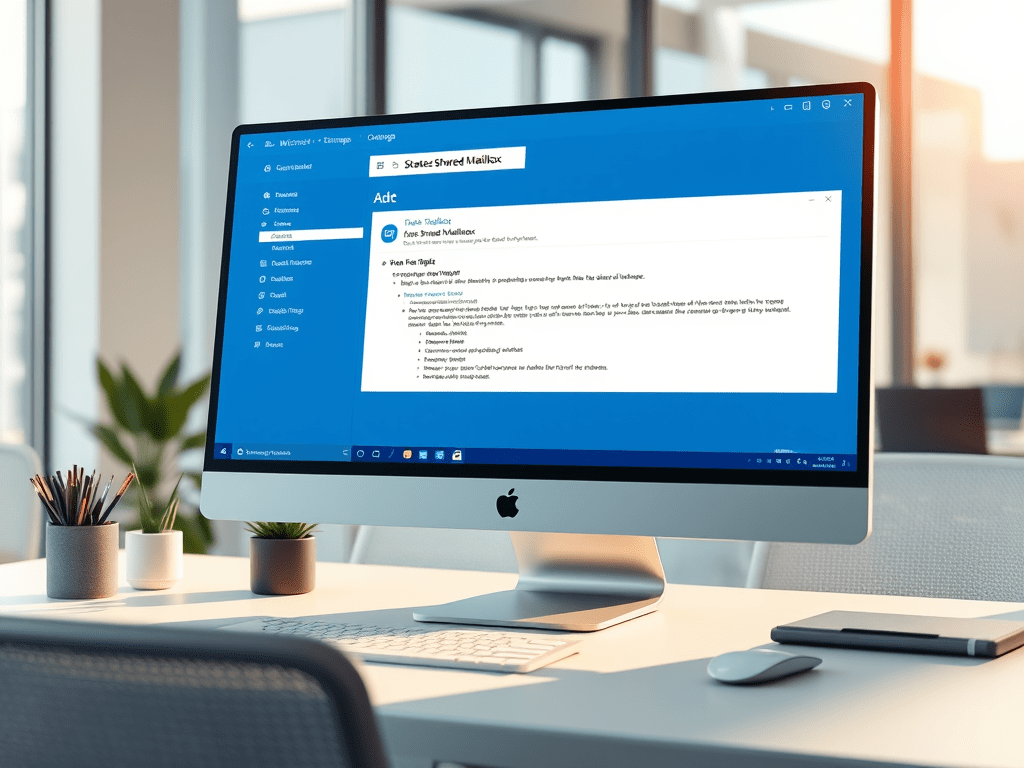
Recently I was implementing a Fax solution and one of the requirement was to create a Shared Mailbox for Inbound Faxes. If you go to the Exchange Management Console and try to add it from there, you never will find it there. The only way to do so is by running a simple Powershell command:
New-Mailbox “Mailbox Name” -Shared -UserPrincipalName emailaddress@contoso.com
Copy this command but remember to replace the Mailbox Name with the name you decide for the Shared Mailbox and the SMTP Address on emailaddress@contoso.com. This will create also a generic account on Active Directory under the Users Container and it will be disable. Please, do not enable the service account since don’t need to.
-
Moving Cluster Group for Exchange 2010

In some environment, Moving the DAG from one server to the other is necessary for numerous reasons and one of the task involve is moving the Cluster Group to the active server. Here’s is the how to:
1. login to the Exchange Server that you want to set as active for the Cluster Group
2. Open the Command Prompt with the run as administrator
3. Type the following command
cluster group “Cluster Group” /move
4. Then go to EMC and move the Mailbox DB
5. Finish
I usually perform this process when the DAG failover to the other exchange server or I loose the server where the file witness reside since it does it on a different server from the Exchange Servers.
Home
1–2 minutes
